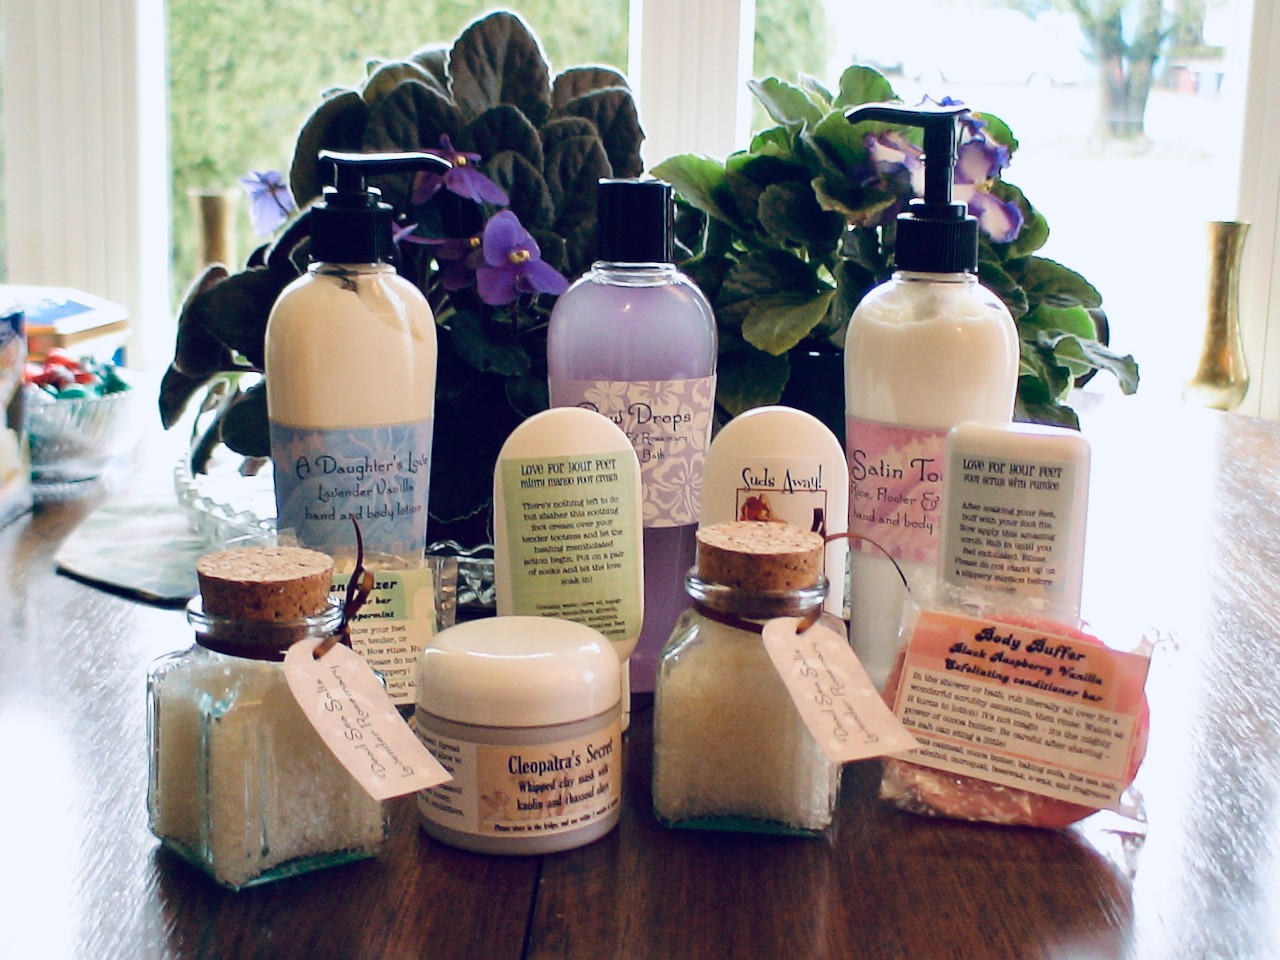
Welcome to all the new people on the blog! Thanks for joining us! I thought I’d re-post this article to share a bit about my formulating journey and some ideas of where you could start yours. Since writing it, I’ve started the Newbie Tuesday beginners’ lotion making series/course and the Formulating Friday more advanced lotion making series/course. I’ve also created my Discord chat server – click here to find the invites! – where you can discuss what you’re doing in these series and other things related to the blog, including shampoo bars, soaping, and a general discussion.
Loads of people are asking me where to start learning to formulate lately, so I thought I’d share some of that information and my story. For reference, this photo above shows what I gave my mum for Christmas 2006 after I’d been crafting for about 7 months.
As you read this, I’d love to hear your thoughts about creating short courses here on the blog, something that’s pretty time intensive, but I’ve been thinking about a lot lately. Would be helpful for me to create a course for those of you starting from day one? What kinds of things do you need or want to know? And for those more experienced formulators, are you interested in a course type structure for certain products, or does the “link to another post for more information” work for you? Share your thoughts in the comments.
I do have a short introductory course for chemistry for all my subscribers, which you can find here.
How did I start on this awesome and amazing formulating journey?
I started making things back in 2006. I was getting ready to offer free, weekly craft programs for youth – How’s that Made? which is still part of our Rated T for Teen programs – and I did a few practice classes with a group of teens from Chilliwack Community Services, where I worked. Our bath bombs failed utterly and completely, just powder when we pressed them from the molds. I couldn’t figure out what had gone wrong? This wasn’t the first time I’d tried this – I’d made a dozen batches so far – and I was using the same ingredients, so what could have happened?
I went online and typed “bath bomb fail” and found the Soap Dish Forum (later, the Dish Forum), where I found out I was using a different type of citric acid and it wasn’t humid enough where I lived.
The one bloody week a year where the humidity drops slightly below 1,000% and that’s the week I chose to make bath bombs? Sigh….
As I looked around, I saw we could make lotion, shampoo, conditioner, and everything else you see on this blog. I started small with melt & pour soap, bath salts, lip balms, and whipped butters, then in a few weeks, I tried my first lotion — and it worked! Yes! I was hooked!
I made my first liquid shampoo in August 2006, my first bubble bath shortly after that. I created my first formulation in October 2006, a conditioner with 7% Incroquat BTMS-50 that everyone said looked like real conditioner — beause it really was!
How did I decide what to learn next? I followed my snoot wherever it wanted to take me. I’ve always loved hair care because it’s so hard to find things for oily hair — try to find something that doesn’t also help with “dry ends” — and I have always used so much!
The Dish Forum was invaluable to me: I started on the first page of the archives, worked my way to the beginning taking all kinds of notes along the way, then started at the beginning again once I’d tried loads of different formulas.
I found Google books and when I couldn’t understand something, I’d turn to those chemistry and cosmetic chemistry texts, reading them until my daily limit ran out, sucking up all the information I could until my brain ached with the weight of all that new stuff.
I didn’t take chemistry in high school or university – I switched to biology 11 as I heard we would be dissecting fetal pigs and that sounded fascinated, and my degree is in English and Canadian studies as I had planned to be a high school teacher – so in 2008, I went back and completed chemistry 11, chemistry 12, and math 11. I went to university after that to take more chemistry, math, physics, and biology classes. I took a break when my mum became ill, but I’ll re-start my studies in September.
What can you do to start your learning journey?
Follow your snoot*! I don’t think there’s one single path you can take to becoming a formulator. If you find something that interests you, follow it until you learn what you want to learn. Your curiosity can guide you to things you find interesting, and you’ll take all kinds of twists and turns and side routes, all of which will teach you some great lessons and take you in directions you didn’t expect!*
When you run into a barrier, keep following the links you find until you get what you’re reading.
If you find yourself frustrated, take a break, do something different. Frustration is your body’s way of telling you whatever you’re doing isn’t working, so walking away, doing something else for a few minutes, a day, a week means you’re coming back to the idea fresh and excited to learn.
*Warning: Following your snoot may occasionally result in finding flavours of froot. SwiftCraftyMonkey is not responsible for such findings, but will partake in them if you bring some lactose-free milk to the party.
Choose a product and decide that’s what you want to learn. You’ll want to start with something basic – lip balm, lotion bars, Polawax lotion, hair conditioner, whipped butter – not something like a Vitamin C and hyaluronic acid facial serum using gelling ingredients (but that’s not a bad goal to work towards).
First, get to know the basics of formulating – how to read a formula, how to convert a formula, how to make larger batches, and how to use our basic equipment, like a scale, thermometer, hand mixer, immersion blender, and why we use them. You’ll want to know more about using a double boiler, too. This information
Here are a few posts with this information (which you can find in the beginners’ section)…
What you need to know about making any product (part 1)
What you need to know about making any product (part 2)
How to read and convert formulas
How to convert from percentages to weight
How do I modify a formula when I add or remove an ingredient?
What options are there for double boilers?
I have a huge section on the blog where I start at the very beginning – and according to the amazing Julie Andrews, that’s a very good place to start – so my suggestion is to start there.
I also have a resources/FAQ section that answers a lot of the questions I’ve seen over the years…
And I have an equipment review section in the menu where I share a lot about equipment.
Or take our short course: I’ve teamed up with Jane Barber of Making Skincare and Perry Romanowski of Chemists’ Corner to offer a free introductory course for making your own products called Learn Cosmetic Formulation. If you’re starting at the very beginning and want to learn more about anhydrous products or those that don’t contain water, you can find five fun formulas in this course, including lip balm, body oil, facial serum, lotion bar, and whipped butter.
Please note, I know the certificate doesn’t print out properly. Raymond has been in contact with the software company quite a few times with no success. He has tried again over the last few days, but still nothing. When they finally get in touch with us, we will fix it. Until then, bask in the knowledge you finished the course and enjoy the moment!
Then get to know your products…
What makes this thing that kind of product? Learning what a product is and does is a huge part of formulating so you understand the guidelines and formulas for the thing you want to make.
What’s a whipped body butter? What ingredients go into it? Is there a special technique for making it? What makes a shampoo a shampoo? How is it different from body wash or a facial cleanser? Why does a lotion always contain an oil and water?
Why are we using the ingredients we use? Learning what your ingredients bring to the party is one of the most vital things you can do. You don’t need to know this to make your first batch, but as you make future batches, ask yourself why you’re using these ingredients.
It also means you aren’t beholden to the ingredients the shop, vendor, blogger, or anyone else is promoting at the moment, and you’ll be able to make substitutions on the fly when you’re out of something!
When I started out, I would go to work early every morning and plan my weekend’s crafting. I’d look at the formulas, create my shopping list, and think about what I might do differently. I realized at a certain point that all these Polawax lotion formulas were pretty much the same, they just suggested different oils or butters, which changed the viscosity, skin feel, slip and glide, drag, lubricity, and all that other good sensory characteristic information.
Are there any special techniques or equipment I might need? What’s the process for making the product? Does it need to be heated? Should it cool slowly or quickly? How do we mix it?
Most people start with an immersion blender because they’re soapers and they always have these around. I didn’t have one, so I used my hand mixer and stand mixer for years, which are no-shear devices. If you’re making lotions that don’t use Polawax, Ritamulse SCG, or Incroquat BTMS-50 as the emulsifier, you’ll probably need something with shear.
An example: Learning how to make anhydrous whipped body butters!
If you wanted to learn about whipped body butters, there are a few things you’d want to know…
What’s a whipped body butter? It’s an anhydrous product – one that doesn’t contain water – made using a softer butter as the base that includes liquid oils and fragrance/essential oils.
I’d need to know more about anhydrous products, so I’d work my way through these posts…
What you need to know about making any product (part 1)
What you need to know about making any product (part 2)
How to read and convert formulas
How to convert from percentages to weight
Back to basics: Defining terms for anhydrous products
How do I make a whipped, anhydrous body butter? You can check out the posts here that start with a basic formulation with the process, which is important to avoid grains, then walks you through how to make changes to the formula.
What else could I add to the formula? If you check out that post, you’ll see that I make suggestions for change. There are a number of posts that preceded this one that are pretty important for learning all about our various oils and butters.
I’m a firm believer in experiential learning when it comes to formulating products, so I like to read a bit, make something, read a bit more knowing what I’ve made, making mistakes, reading more, creating something, and so on. You definitely want to get your hands on the products, make it, smell it, experience it while formulating and while using, really get to know the product you’re making so you can understand your ingredients, the product, specifically what you’ve made, and then you can learn how to make changes or what you really don’t like about something.
Read or watch, make, think, formulate – I’m a huge fan of this process as I think it’s the best way for me to learn.
Here the posts in the order in which I suggest reading them for making whipped anhydrous body butters…
What you need to know about making any product (part 1)
What you need to know about making any product (part 2)
How to read and convert formulas
How to convert from percentages to weight
Back to basics: Defining terms for anhydrous products
Newbie Tuesday: Learning about oils & butters – an introduction
Newbie Tuesday: Testing the skin feel of our oils
Newbie Tuesday: Creating a body oil
Newbie Tuesday: Pushing the schedule back – more thoughts on skin feel of our oils
Newbie Tuesday: What did you learn about the skin feel of your oils?
Newbie Tuesday: Creating whipped butters – choosing your butter
Formulas: Formulating whipped butters
An example: Learning how to make conditioners
If you wanted to learn how to make conditioners, and you’d never made anything before, I’d want to start you out with the basic posts on how to make products, including information on how to read a formula and such…
What you need to know about making any product (part 1)
What you need to know about making any product (part 2)
How to read and convert formulas
How to convert from percentages to weight
What’s a conditioner? What types of products are considered conditioners? In general, they’re products made with positively charged or cationic ingredients that adsorb to the hair strand to make the cuticle lay flat, which increases shine, reduces tangles and friction, and makes our hair feel and look nicer.
Check out this beginners’ post: Back to the very basics: Conditioner
How do I make a conditioner? You’ll see that a lot of conditioners – the ones that are white and creamy – are types of lotions, which means they’re emulsions that bring together oil and water to create an emulsified product.
There are other types of conditioners out there, but we’re focusing on the lotion-y ones in this example…
Why is it a conditioner? This is where you’ll learn about cationic or positively charged ingredients and why they work as conditioners.
What isn’t a conditioner? Why did that thing I make with catnip and a non-ionic emulsifier, something like Polawax, not a conditioner? Could I make it a conditioner by adding something to that lotion?
What kinds of ingredients would we use in a conditioner and why? And this is where you’ll want to spend the next six months of your life reading. (Kidding…not kidding…it’s a fascinating topic!) But don’t forget to order supplies, then make something to see if you really like the product.
Can I make a duplication of that product I really like? Yes, but probably not yet as that requires an understanding of what each ingredient brings to the product, and you aren’t quite there yet…but you will be!
Can I find a starting formula that isn’t too complicated? I believe in making a product pretty bare bones when I start so I can get to know the skin feel, hair feel, viscosity, and all those other lovely sensory characteristics of the ingredients.
For a first conditioner formula, I suggest 7% Incroquat BTMS-50, 0.5% Germall Plus liquid, and 92.5% distilled water. Try that on your skin to see how it would work as a lotion – remember, conditioners like these are lotions! – and try it in the shower. What did you like? What didn’t you like? What properties do you want in the next one?
Click here for my starter formula for conditioners, found in the Beginners’ section of the blog!
After making your first batch, add an ingredient to the formula and see what changes. Record everything – the weather, humidity, how it felt on your hair in the shower, how your hair felt while drying, how your hair felt day one, day two, day three – all the information you think you’ll need to make this again or make changes.
Read a bit more, and when you encounter something you don’t understand, take that side route to learn more, maybe leaving the topic of conditioners a bit to understand more about shampoos or something else. Always follow your snoot to where your curiosity might take you!
Here are the posts I think are a great place to start if you’ve never made conditioner before…
What you need to know about making any product (part 1)
What you need to know about making any product (part 2)
How to read and convert formulas
How to convert from percentages to weight
Back to the very basics: Conditioner
Here are a few additional things I think you’ll need if you want to follow your snoot!
Eventually, I think you need a bit of chemistry. You don’t need to get a Master’s, just an understanding of what it means for something to be a chemical; learn about atoms, ions, and molecules; get to know a bit about chemical bonding; understand solubility; and be able to figure out acids, bases, and pH.
All of this is grade 11 to 12 science, and there are loads of places you can learn about these things. Check out my resources & references links to see where you can get free textbooks and courses!
I have a free introduction to chemistry class you can take. It covers what I think are the basics so far. (I will be adding to it if there’s interest…)
You’ll want to be comfortable with grade 6 math – addition, subtraction, multiplication, division, fractions, decimals, and percentages. To work with formulas, we need to be able to add them together, multiply to create larger batches, figure out the percentages, understand ratios and fractions.
Does anyone want a quick math course? Let me know in the comments!
Learning how to read a formula and convert it into weighted measurements
Calculating percentages in lotions
Converting formulas from percentages to grams (NEW, 2018)
Making larger batches – doubling and tripling and more!
Why we weigh our ingredients rather than using liquid measurements.
What happens if our formula totals more than 100%?
How do I modify a formula when I add or remove an ingredient?
Resources you’ll find here on the blog…
Resources/FAQ section that answers a lot of the questions I’ve seen over the years…
Free introduction to chemistry class you can take.
Formulation directory ($3 or higher subscribers)
There are over 4,100+ posts on the blog, so doing searches for things that interest you will turn up at least a few posts (except I don’t make soap, sunscreen, or mascara). As well, I have 50+ e-zines and e-books with many formulas in each one.